Summer in Seattle is the best 3+ months of the year. This summer is already shaping up to be sunny, hot, and awesome. With active boys and beautiful weather, it is essential to be outside and keep them busy. Searching out fun is a difficult job, but someone has to do it! How about 18 holes of mini golf? Real greens, sand traps, and scorecards.
The Rusty Putter at The Golf Club at Newcastle is an amazing destination for a little fun. In about an hour, you can golf all 18 holes. The views of Seattle, Lake Washington, and Bellevue are breathtaking. Grab a drink at the grill after your round and call it a day.
On a side note, Newcastle is also a perfect spot for date night. Grab a drink from the bar, head out to the putting green, and unwind on a warm summer’s night.
I will be featuring fun summer ideas over the next couple of months. If you have a great idea, leave a comment below or send them to me at denise@whereisjune.com.
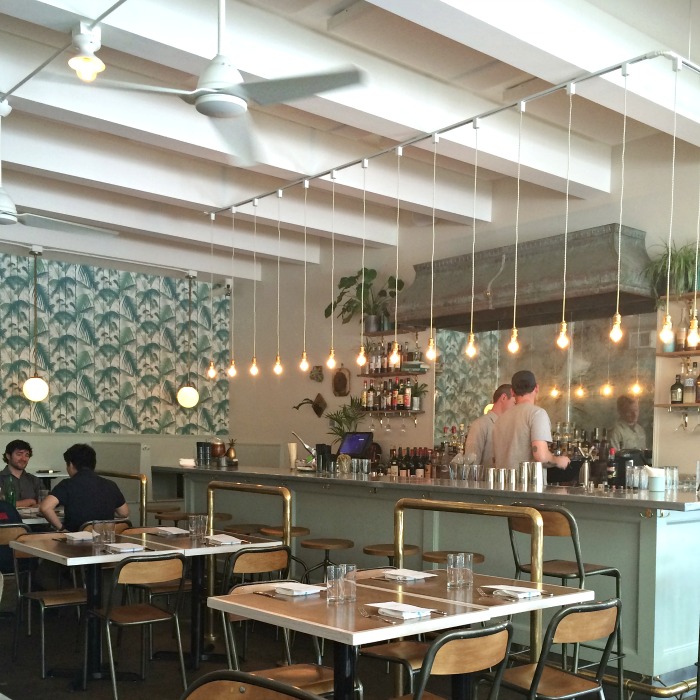
I recently had lunch at Stateside in Seattle. Yes, the food was delicious but I could not get over the design elements. Color choice, brass detailing, lighting, a mix of old and new, and that wall paper. THAT wall paper. The unexpected pop of green palm fronds and it was oh, so perfect! I am still thinking about it two weeks later. A dramatic wall paper can really pack a punch!
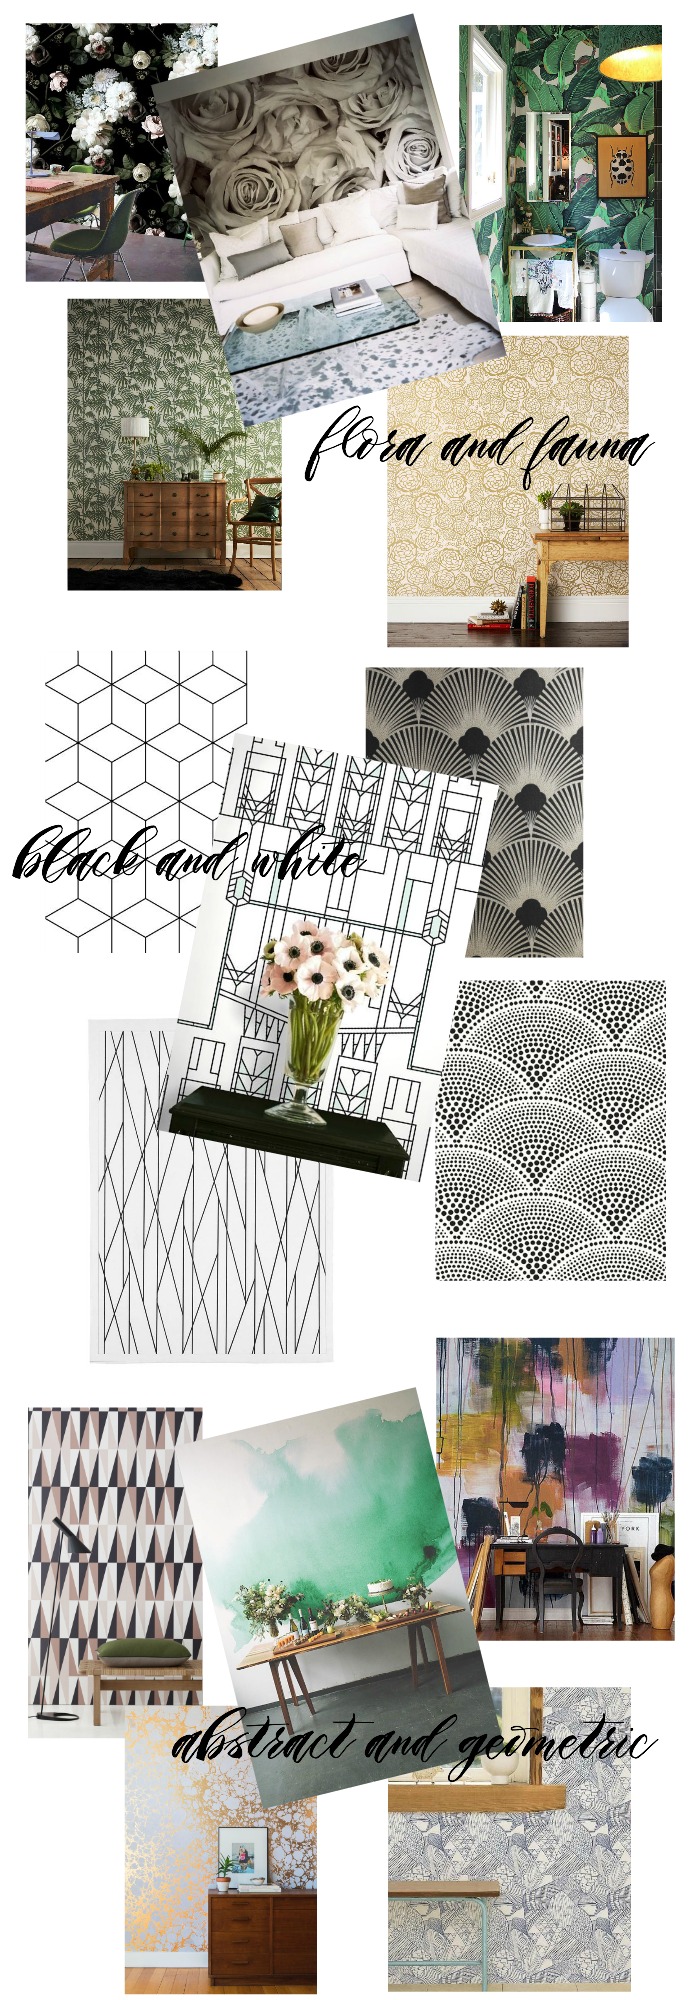
So, I did a little searching:
Which is your favorite? I could find a way to use any of them in my home! However, if you have ever had to remove wall paper, you know it isn’t a decision to take lightly. Do you have wall paper in your home?
{All image sources and other dramatic wall papers can be found here.}
Oh, my goodness. The forecast calls for nothing but blue skies and warm {WARM} temps. This is too good to be true. We made a decision as family last night to soak up every last ounce of sunshine and fun that the weekend will provide. It also includes the delivery of a new washer & dryer. I have not had one for almost 6 weeks! I may kiss them when they arrive.
This week’s inspiration is ode to summer. Bring it on! Love big. It’s in the details.
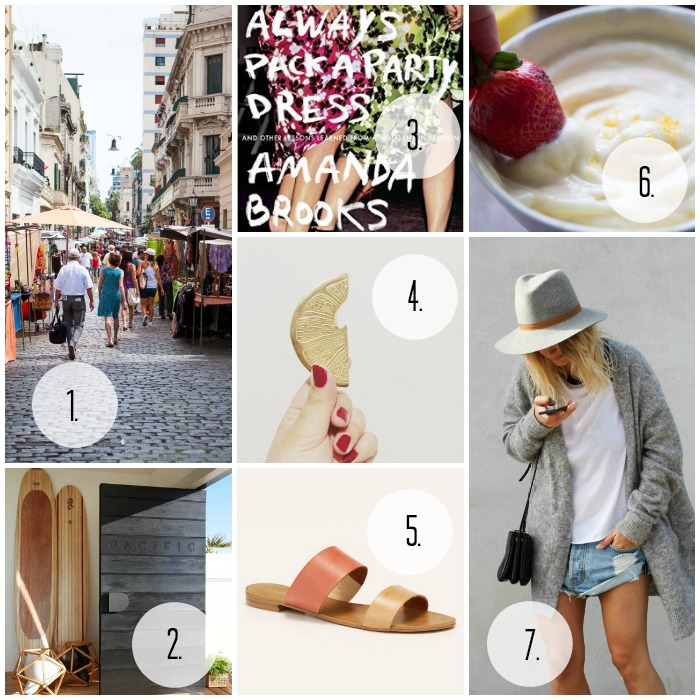
1. We are in the beginning stages of planning a trip to Buenos Aires! Stay tuned.
2. Dreamy beach inspired decor. But that front door!
One year ago today I was arriving in Rome! In May 2014, my husband and I took a two week trip to Italy. My grandmother left me a small bit of money. I wanted to use it for something that would make her happy. Neither of us had been to Europe so this trip was extraordinary for us! It has obviously been months and months since our trip, but I wanted to be really thoughtful when writing about this experience. It was life-changing in some ways, stressful at times, and truly unforgettable. I will post every week for the next several weeks, since our trip consisted of 3 distinct parts-all with their own amazing sights and memories.
Roma: The Eternal City {Day 1-5}
Rome is an amazingly busy city! Scooters zip by, cars navigate streets the width of a jogging path, and people fill the streets day and night. We loved the energy and felt comfortable as soon as we arrived. Aaron and I quickly learned how we DID NOT want to travel. Our first two days in Rome were jam packed and crazed with historical sites and museums. And miles and miles of walking. By the end of the night two, after we left the Vatican, we finally broke down and took our first cab. As I leaned back in the seat to rest my head I muttered out loud, “If we do that again tomorrow, I will hate Italy and I will hate you.” A lesson quickly learned: You don’t need to see it all.
Click through to read more about our trip and all of my tips for Rome…. (more…)
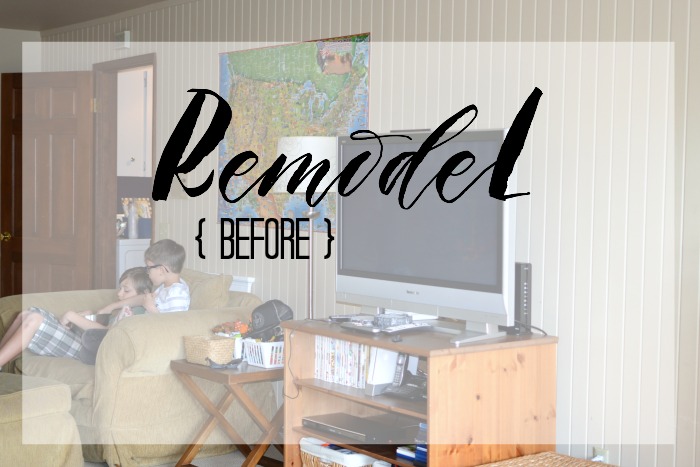
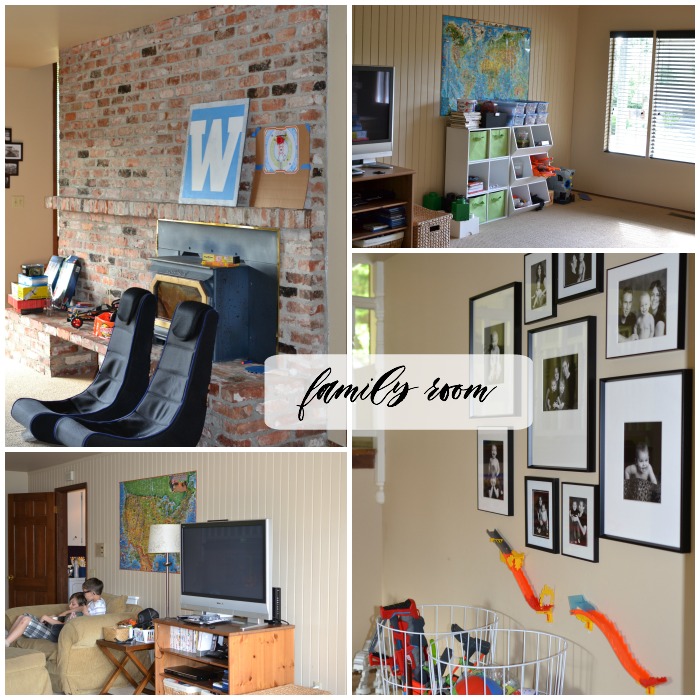
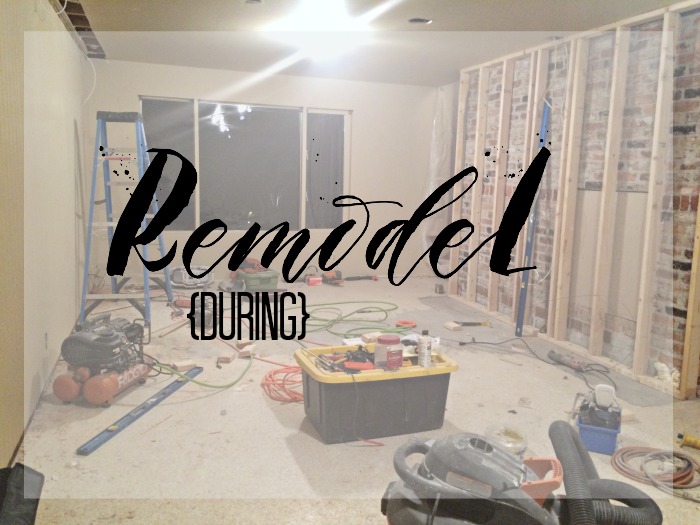
Over a year and half ago, I posted about a possible remodel of our boys’ play room. They had outgrown the need for a dedicated space just for toys. When they have friends over, they love to watch movies and play video games. The time had come to invest in making this space something to love. A little over three weeks ago, the process began! While the end vision is coming together, the first stages were a little unsettling. Massive amounts of demolition and sheet rock dust, made it hard to see how it could all go back together. I guess surviving and thriving during a remodel is a skill.
Here is what I know so far:
1. Have a clear vision and budget.
While others can give input and advice, you need to have your own vision for the space, whether it be a family room, a kitchen, or a bathroom. While I am no designer, but I was clear how I wanted the room to function and the short list of needs. The least sexiest part of a remodel is the budget. You have to have a budget. Decide which details are the most important, so that when you have to make compromises, due to budget constraints, you are still guaranteed a final product you will be happy with.
2. Learn to love Pinterest.
It has literally helped me make almost every decision. Paint color, tile, trim work, switches. You name it, I put it in the search box of Pinterest and found what I wanted. Visually I could narrow down my choices. I could then find it just by searching or asking for help from my contractor or a friend.
3. Appoint a project manager.
I was appointed the project manager. If my husband and I had to decide every little detail together, we would probably end every evening in an argument. To save our sanity and keep the project moving along, I have made most of the choices and decisions. He is more interested in the final outcome. Your project manager should be the person who is most interested in the process and the details. That’s me and I love it!
4. Embrace the mess.
You cannot control it, so just go with it. Hey, how often do you have an excuse for your house to be a disaster?
I can not wait until we are cuddled up on the couch watching a movie in our new room. I promise to post again about this project!
Would you like a peek @ the inspiration for the room and all its details? Follow along here!
This year the costume exhibit at the Metropolitan Museum of Art is dedicated to Chinese fashion. I can’t wait to see what the designers come up with tonight!
I somehow got talked into seeing Mall Cop 2 this weekend. Oh, please help me. There may not be enough popcorn and Milk Duds to get me through! It is Mother’s Day in a week or so, so this week’s inspiration serves as a short wish list of sorts.
Tacos, mini pies and a rockin’ pair of shades! Love big. It’s in the details.
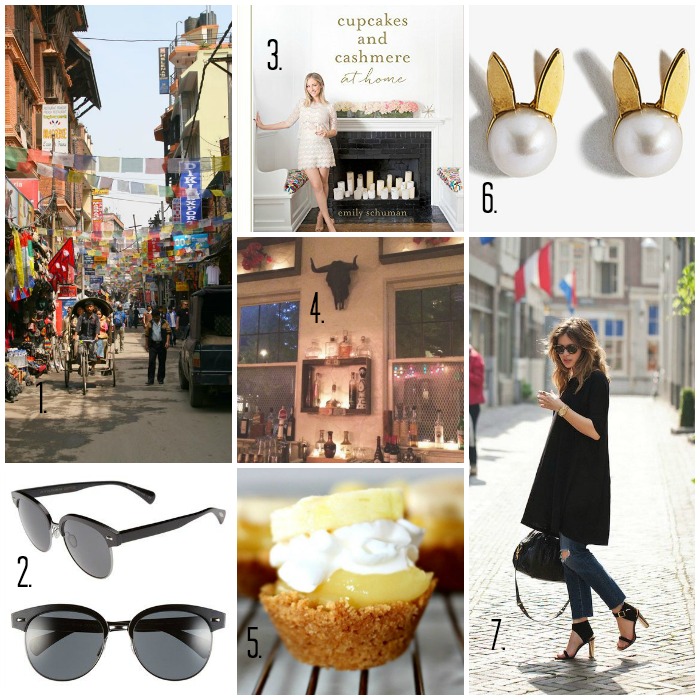
1. I can’t stop thinking about the people of Nepal. I would love to see this beautiful country.
2. I tried on these shades and instantly fell in love. But they cost so many $$$$.
Yay! It’s Friday. What are you up to this weekend? More little boy baseball and time with my parents are on our schedule. Hoping to squeeze in hang time with my cute hubby, just the two of us.
And another week to be inspired. Love Big. It’s in the details. Enjoy your weekend!
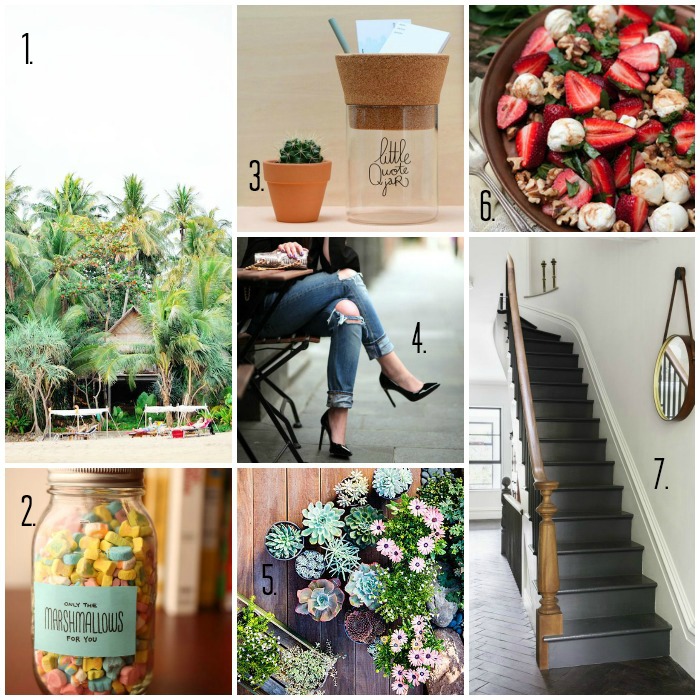
After a long sunny break with big kids, I am dying to travel more and more! That along with a jar of “only the marshmallows” from Lucky Charms, this week’s details are certainly inspired by my spending a week with my family. Here is a week’s worth of inspiration! Have a lovely weekend.
After living in our house almost 8 years, I finally replaced the dining room light which I have hated since the moment we moved in. {It was a perfectly nice light, jut not my style.} I have been obsessed with the Jonathan Adler Sputnik Chandelier for a long, long time-but it will most likely never fit into my budget. I began looking for alternatives and even asked for your help. In the end I couldn’t give up my quest for a Sputnik and returned to my search determined to find one within my budget. The inter-web gods were listening I somehow stumbled upon Practical Props and my prayers were answered. This lovely little lighting shop in Los Angeles, took my order over the phone, customized the drop for my space, and shipped my light to me in two days. After a little research I found that most designers agree that lights should hang somewhere between 30″ and 36″ above the table. I customized our light to hang 36″ above the table. Our old light was incredibly low {See before picture below}. The quality of the fixture is amazing and I truly love how it looks above our table.
The before and after pictures are a little more dramatic than in real life, thanks to a better camera and a super sunny day in the after shot. However, you can see how the old light was heavy in appearance and very low to the table! We are so very happy now. With 18 individual bulbs the light is abundant from this fixture. It is excellent that a dimmer switch was already installed.
So, now I just have a few finishing touches and this space will be complete.
After months of contemplation, I finally painted one of the walls and created a chalkboard wall. I don’t have a good wide angle lens, so I am not able to capture the entire wall in a shot. Well, now that it’s done – I need to write on it! Below I edited the picture to show what it will hopefully look like when I get over myself and just write something. {Yes, admittedly, I am a perfectionist and wish I was amazing at hand lettering.} Stay tuned.
Lastly, I felt like I finally had enough pieces to hang a gallery wall. I gathered five pieces and varied the frames and mats. In the end, I stuck to a fairly monochromatic palette. {It is almost impossible for me to take a picture without glare from the windows. Sorry!} In gray I have shown the size of pieces I would like to add in the future. Also, I still think I need a piece of furniture below the art to anchor it in the room. My husband is fighting this because the space is not very large. These extremely slim console tables might be the answer. Two, side-by-side, in white would be perfection! I sketched their profile under the art work. What do you think?
For each space in my house, I am constantly dreaming and scheming. While there is still much to do, I am really happy how this small space is coming together.