Archive for the ‘so sweet’ Category

CHOCOLATE CHIP COOKIE JARS

Tuesday, October 27th, 2015

Cookie jar | Where is June?

I wrote a guest blog post last week featuring a yummy dessert.  I thought I would share it here as well.  These little jars make great individual treats.  Give them as a gift and your friends will think you are the best!


I don’t know about you, but I fall victim to anything sweet.  I love desserts that look amazing, taste delicious, but are are simple and easy to make.  Chocolate Chip Cookie Jars, simply a chocolate chip cookie baked in a jar and served ooey and gooey, are perfect in any season.  However, they are particularly awesome this time of year.  There is nothing better than a little something sweet after a delicious fall meal.  Plan to serve them with a big Sunday dinner or make them mid-week for a special treat!

Here is a quick break down:

1. Start with your favorite chocolate chip recipe.  In a pinch, I use the Betty Crocker Chocolate Chip Cookie Mix. {Trust me!  No one will know it is a mix.}

basic cookie dough | Where is June?

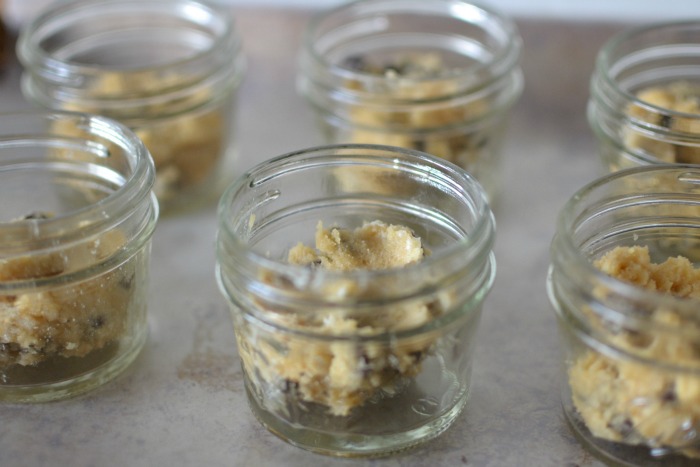
2.  Fill 4oz jelly jars approximately 1/2 full with prepared cookie dough.  You don’t need to grease the jars.  Just spoon in the dough.

cookie in a jar prep | Where is June?

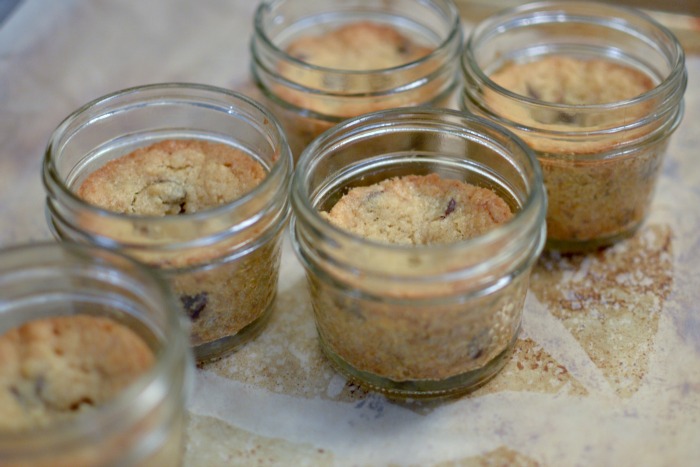
3.  Place jars on a baking sheet and bake at 350 degrees for about 15 minutes.   You want the just the edges to be golden brown.  Don’t over bake!  The centers will collapse a bit as the cookies cool.  Don’t worry!  This creates a perfect spot for that scoop of ice cream!

baked chocolate chip cookie jars | Where is June?

If you plan to bake and eat them right way, give the jars 20-30 minutes to cool down.  You don’t want to try to hold the jar when they are hot!  A scoop of salted caramel gelato puts these babies over the top, but vanilla works too.   These are also great to bake ahead of time.   Just remember to microwave them for a 10-15 seconds before eating.  It is just too sad not to eat them warm!


CROCK POT APPLE SAUCE

Thursday, October 2nd, 2014

Crock Pot Apple Sauce

My grandmother made the best apple sauce of all time.  My favorite was a version that she made with Red Hot candies.  Until I can find a recipe that replicates that delicious pink applesauce, I will be making this apple sauce.  Using Danielle Walker’s recipe, I used farmer’s market apples and cooked the apples in the crock pot all day on a Sunday.  It did take some time to peel, core, and slice the apples-but after that I just threw in the apples and a bit of water and let them cook for six hours.

In the evening, I mixed in the simple whole, ingredients {honey, vanilla, and cinnamon} and single-handedly ate the entire batch over the course of a week!  I am headed to the market again this Sunday to buy more farm, fresh apples.  Delicious!

Need another quick and easy fall treat?   These Quick Pear Crips are perfect on a crisp autumn evening!


AN ALL-BUTTER PIE CRUST

Monday, March 10th, 2014

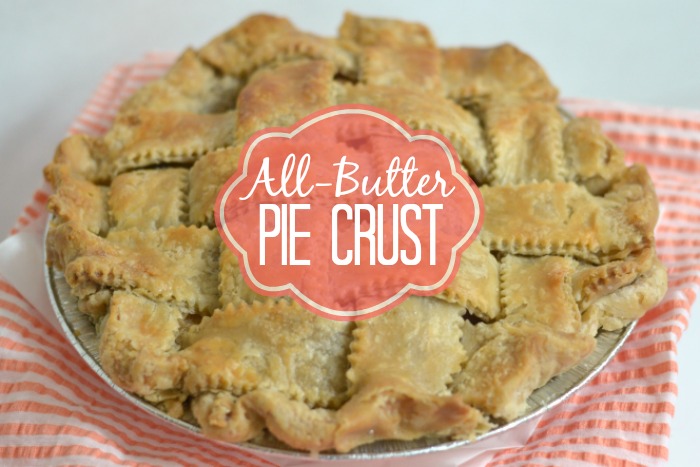
All Butter Pie Crust

A couple of weeks ago I took a pie making class at High 5 Pie in Seattle’s Capitol Hill neighborhood with a good friend.  In two hours we learned the tricks and basic technique to make an all-butter pie crust.  Please hold onto your arteries, because the recipe calls for two {count them, TWO} sticks of butter.   Let’s just take a deep breath and realize that we don’t eat pie everyday and it is ok to indulge every once in a while.  This crust is flaky and delicious.  And if you are like me, the crust is the best part of the pie!

High 5 pie

The High 5 Pie All-Butter Pie Crust

2 1/2 cups flour

1 tsp salt

1 tsp sugar

8 0z unsalted butter

3/4 cup ICE COLD water

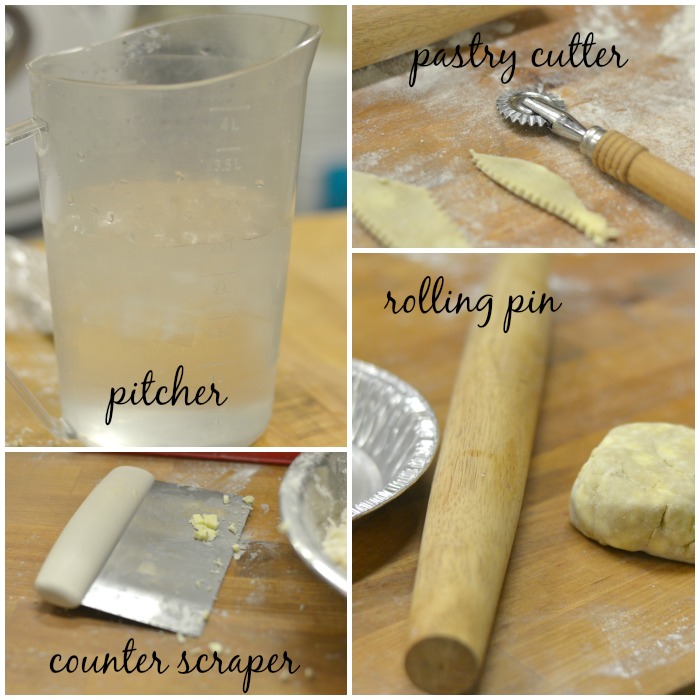
You will also need a few tools. A pitcher for ice cold water, a counter scraper for chopping butter, a rolling pin, and a pastry cutter if you are going to make a lattice top crust.

tools of the trade

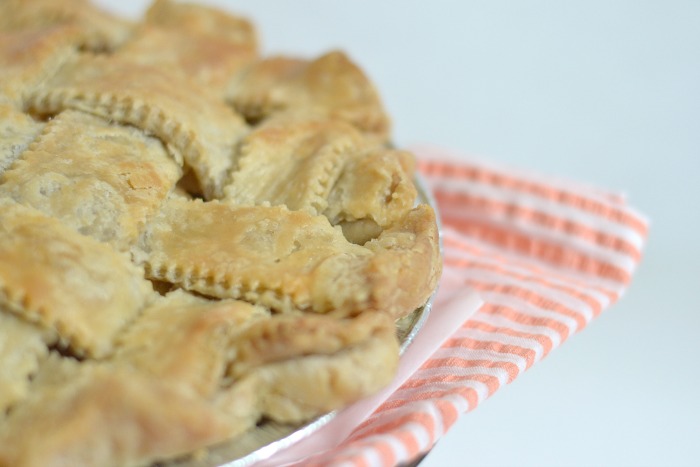
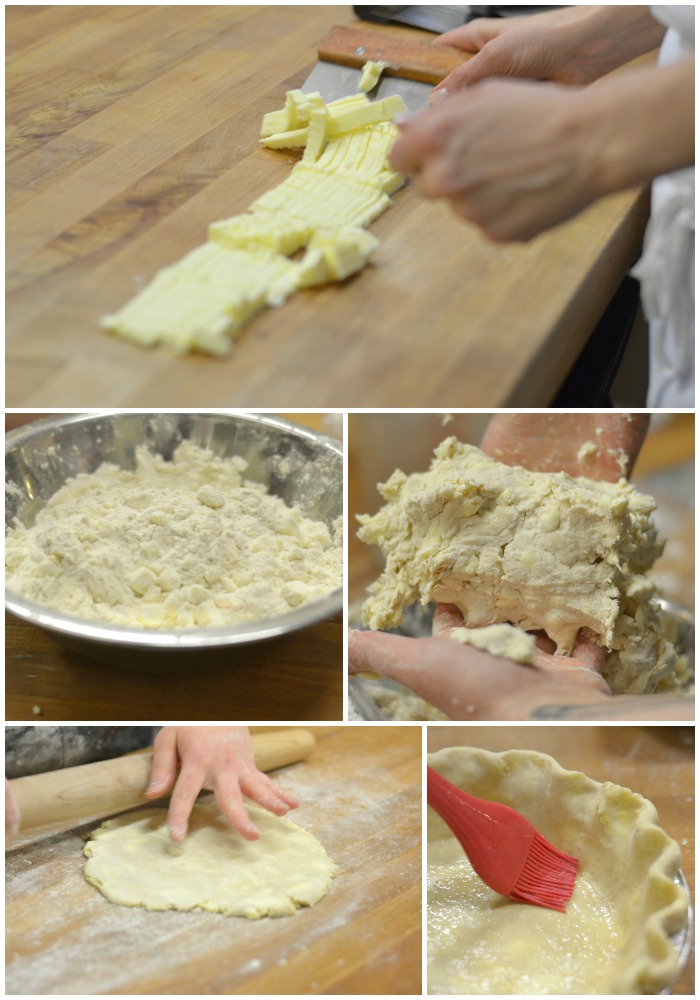
Our instructor gave us great tips.  In a nutshell, keep everything as cold as possible. Chop the butter with a counter scraper into small cubes and freeze it ahead of time.  Add ICE cold water gradually until dough comes together and refrigerate before rolling.  Roll a perfect circle by rolling and making many small turns.  Refrigerate the rolled crust in the pan for at least 2 hours before baking.  Before adding your filling, coat the crust with an egg wash.  This prevents the crust from getting to soggy {Brilliant, right?}.  Place the pie pan on a cookie sheet before placing in the oven.  This helps to catch the butter that will spill over while baking.

pie technique

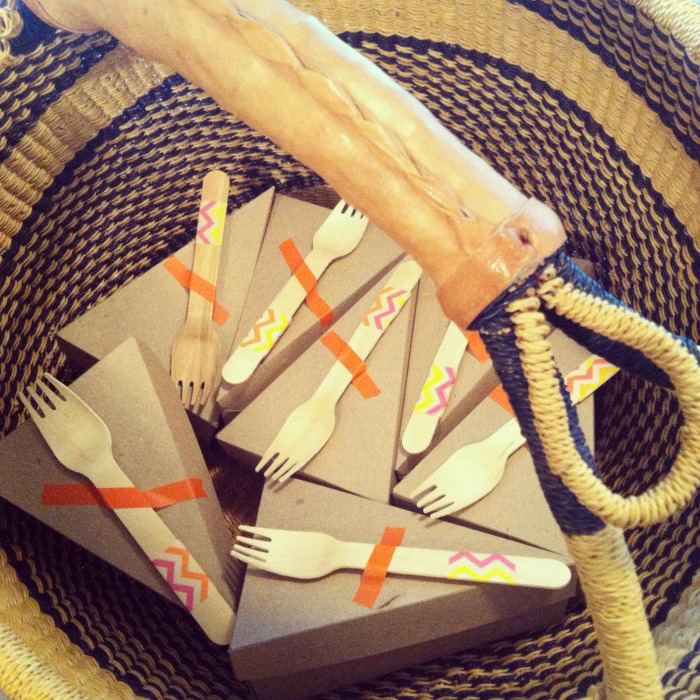
I loved this class because we also got tips on how to crimp the bottom crust and how to make a lattice top crust.  Skills that are much easier to learn when there is someone showing you how to do it and providing feedback as you try it out yourself!  I highly recommend this class if you live in the Seattle area.  We left with an entire pie ready to bake and dough ready to roll and make another at home.  Since my husband couldn’t help me eat it and my kids are not yet pie fans {not sure how that is possible}, I baked the pie and had one piece.  The rest I boxed up and took to the teachers at the boys’ elementary school.  Nothing better than apple pie with your morning coffee!

modo

Photos by Where is June?


SALTED PEANUT CHEWS

Friday, January 17th, 2014

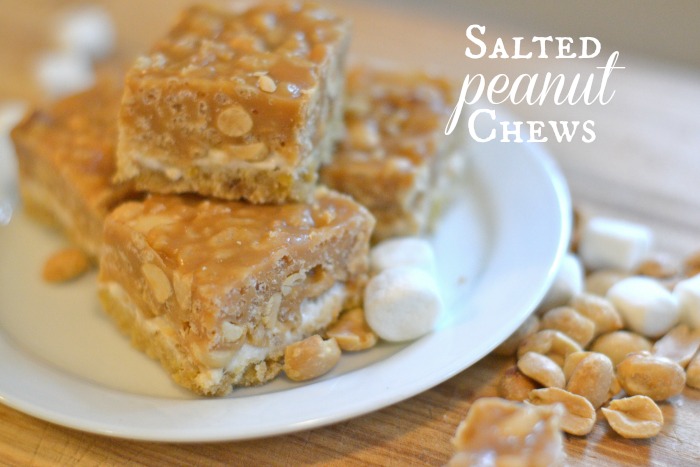
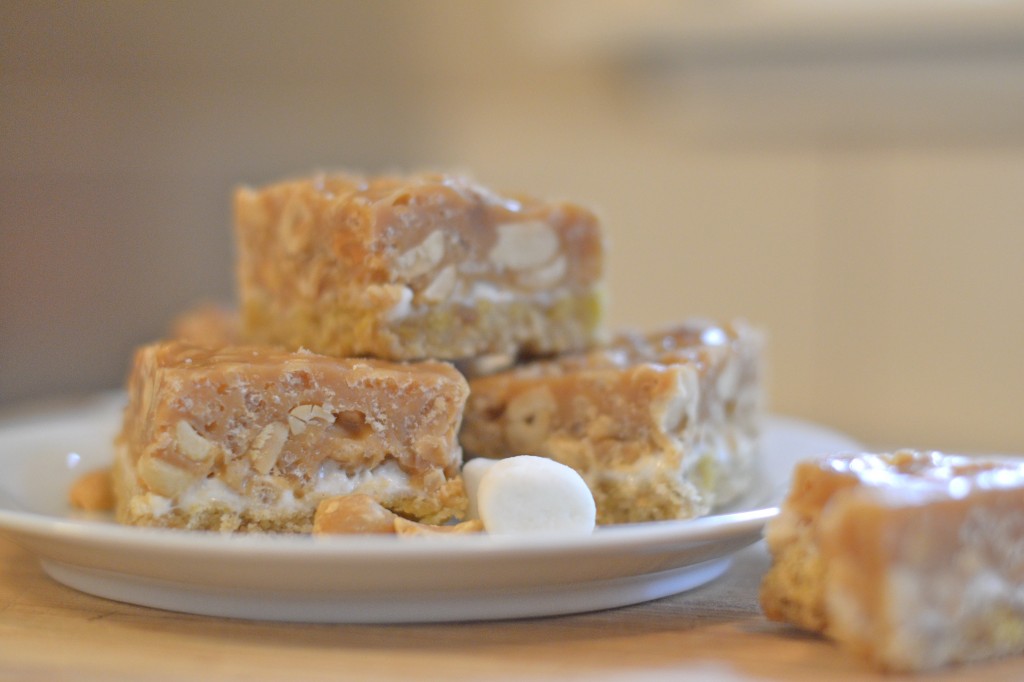
salted peanut chews

Earlier this week I found myself with some free time and decided to bake my all time favorite cookie.  My grandmother used to make these cookies for me.  I am not sure if anyone else in my extended family liked them, but she knew I loved them.  At some point I asked her for the recipe.  She dug out the cookbook and gave it to me.  I consider having the cookbook a blessing.  As I stood in my kitchen reading the directions, I knew she had done the same-years before.  And she had done it just for me.  Share your love through small gestures.  {She taught me well.}

Trust me.  These are the best cookies on the planet. And I do not exaggerate.  Take them to a large gathering and spread the love {and the calories}.  It may seem like a lot of ingredients, but they are simple to make.

Salted Peanut Chews

CRUST

1 1/2 cups flour

2/3 cup firmly packed brown sugar

1/2 tsp. baking powder

1/2 tsp. salt

1/4 tsp. baking soda

1/2 cup butter, softened

1 tsp. vanilla

2 egg yolks

3 cups miniature marshmallows

TOPPING

2/3 cup corn syrup

1/4 cup butter

2 tsp. vanilla

2 cups peanut butter chips

2 cups crisp rice cereal

2 cups peanuts

Heat oven to 350 degrees.  In large bowl combine all crust ingredients except marshmallows until crumb mixture forms.  Press in bottom of ungreased 13×9 pan.  Bake at 350 for 12-15 minutes or until lightly golden brown.  Immediately sprinkle with marshmallows.  Return to oven for 1-2 minutes or until marshmallows just begin to puff.  Let marshmallows completely cool, then prepare topping.  In large saucepan, heat corn syrup, butter, vanilla, and peanut butter chips just until chips are melted and mixture is smooth, stirring constantly.  Remove from heat; stir in cereal and nuts.  Immediately spoon warm topping over marshmallows and spread to cover.  Chill; cut into bars.

Recipe from Pillsbury Holiday Classics II (1983)


BAKED GRAPEFRUIT

Monday, January 13th, 2014

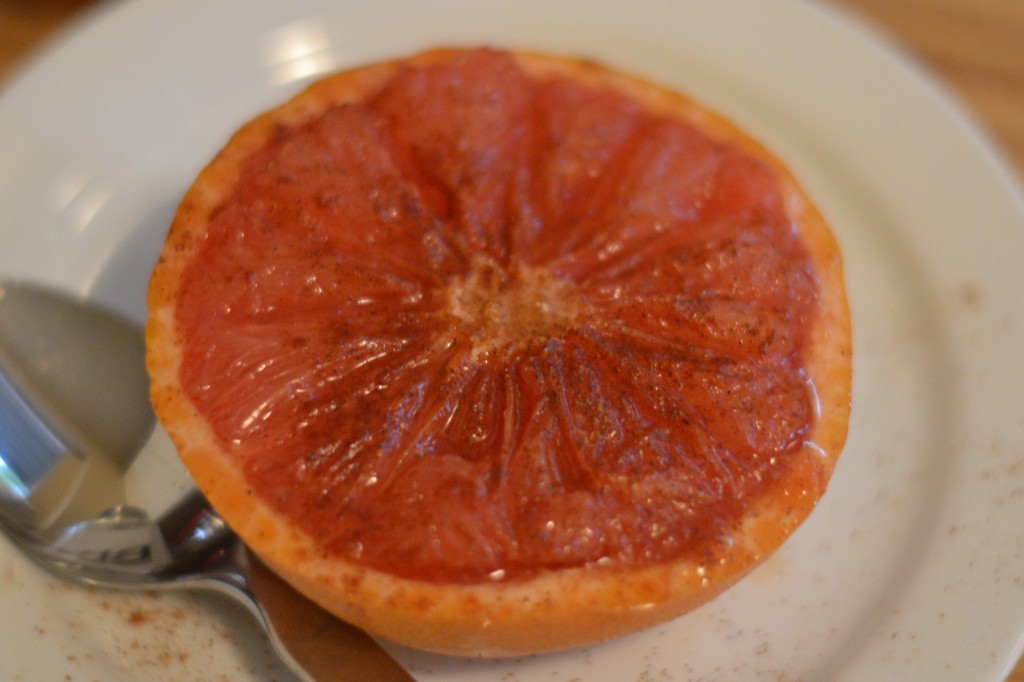
baked grapefruit

I have an incredibly intense sweet tooth.  After dinner I am always looking for a little something sweet. While trying to avoid the Oreos, I often will slice an apple and sprinkle cinnamon sugar on top.  However, this baked grapefruit is perfect for cold, January nights.  With only three simple ingredients, it is a quick and easy treat.  I used Ballard Bee Company honey and a red grapefruit.  Baked at 350 degrees for 15 minutes-it comes out warm and bubbly.  The perfect combination of sweet and tart.  Plus, at only 6o calories for half of a grapefruit this treat is also virtually guilt free!

baked grapefruit

baked grapefruit


EASY TOFFEE

Tuesday, December 10th, 2013

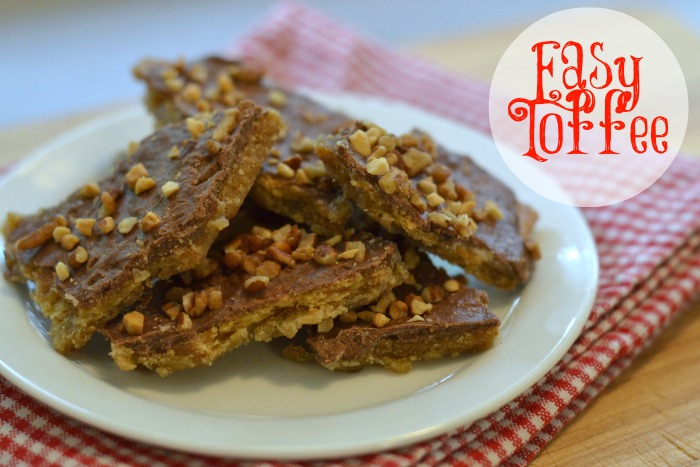
easy toffee

Ok, this is not a diet food.  Let’s just get that out of the way.  But, this toffee is oh, so delicious!  Here is another favorite holiday treat!

Easy Toffee

15 [or so] graham crackers

1 cup firmly packed brown sugar

1 cup butter

1 cup milk chocolate chips

1/2 cup copped nuts.

Heat oven to 400 degrees.  Line 13×9 inch pan with foil, grease foil with butter.  Arrange graham crackers in pan. [Some may need to be broken so that entire bottom is covered.  It doesn’t need to be pretty.]  In medium saucepan, combine brown sugar and butter; bring to boil.  Remove from heat; pour over graham crackers.  Bake at 400 degrees for 5 minutes.  Remove from oven; immediately sprinkle with chocolate chips.  When chips are soft, spread over top; sprinkle with nuts.  Chill about 30 minutes until chocolate is set.  Break into pieces.  Store in refrigerator.

Deelish!  Be merry and bright.

You might want to make Five Minute Fudge.  xoxo

* Recipe from Pillsbury Holiday Classics II ©1983.  A gift to me from my grandmother’s kitchen.


FIVE MINUTE FUDGE

Tuesday, December 3rd, 2013

five minute fudge

‘Tis the season for sweets galore!  Each Tuesday I will be sharing a favorite holiday treat recipe.  All of them crowd pleasers!

Five Minute Fudge {literally}

1 package (12oz) semi-sweet chocolate chips

1 cup butterscotch chips

1 (140z) can “sweetened” condensed milk

1 tsp. vanilla

Dump all ingredients into a sauce pan.  Heat over low heat until melted and blended.  Pour into 8X8 pan and cool in fridge for at least 30 minutes.

Wow!  Could it be that easy?  Yes.  The fudge is even easier to eat.

*Recipe from Rachel Ray, years and years ago, when she appeared on the Oprah Show.


HALLOWEEN SUGAR COOKIES

Thursday, October 24th, 2013

halloween is a treat

I’ll be honest.  Halloween is not my favorite.  Lucky me, my kids think it is the greatest holiday ever, aside from Christmas.  An easy way for me to show some spirit is to break out the cookie cutters.  Using the all-time best sugar cookie recipe, I make the dough while they are at school.  Once we are ready, I roll and they do the cutting.  But, of course,  decorating is where the fun is at.  I stick to an extremely simple frosting -just powdered sugar and milk {recipe is included with recipe}.  I love AmeriColor food coloring for their vibrant colors-including black.  I give the boys five or six cookies to frost.  We store them separately and those are theirs to eat.  {This way, I don’t have to worry about them licking the knives and believe me they do!} New this year are these darling candy eyes.  The boys loved them and they are a super easy way to add that little something extra!

Baking and frosting cookies is a pretty great way to spend an afternoon with my crazies.  Plus, the cookies are damn good!

The Basic Sugar Cookie (with a few tips)- from Everyday Food | Holiday ’06

2 cups flour

½ tsp. Baking powder

¼ tsp. Salt

1 stick butter  (room temperature)

1 cup sugar

1 egg

1 tsp. Vanilla extract

Whisk together flower, baking powder and salt.  In mixer, beat butter and sugar.  Beat in egg and vanilla.  With mixer on low, add dry ingredients gradually. Beat until combined.  Divide dough in half; flatten into disks.  Wrap each disk in plastic. Freeze until firm-at least 20 minutes (or refrigerate overnight).

Preheat oven to 350 degrees.  Remove dough and let stand for 10 minutes.  Roll dough and cut out shapes on floured surface.  (First tip is to roll dough thick.  This makes softer cookies.)  Bake for 10-18 minutes.  (Second tip is to pull cookies from oven when edges are JUST golden.  You don’t want to over bake your cookies.)

Easy icing:

1 ½ cups powdered sugar

3-4 Tbs. Milk.

Whisk together.  Add food coloring if you would like.  Frost cookies and let set, about 20 minutes.


CINNAMON SUGAR PANCAKE BITES

Thursday, August 15th, 2013

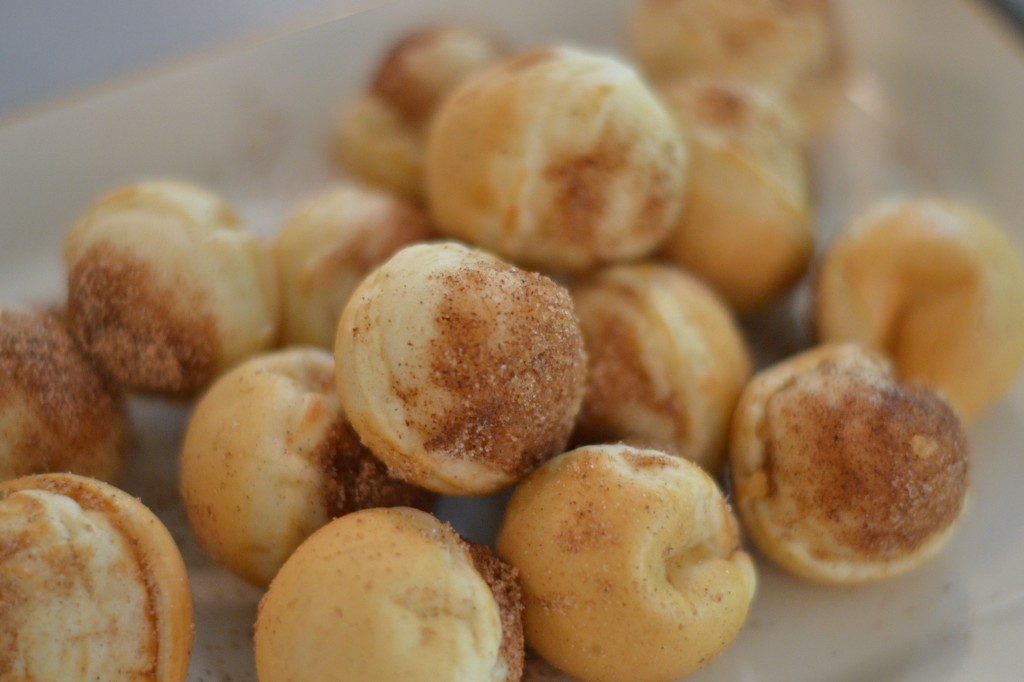
Where is June | Pancake Bites

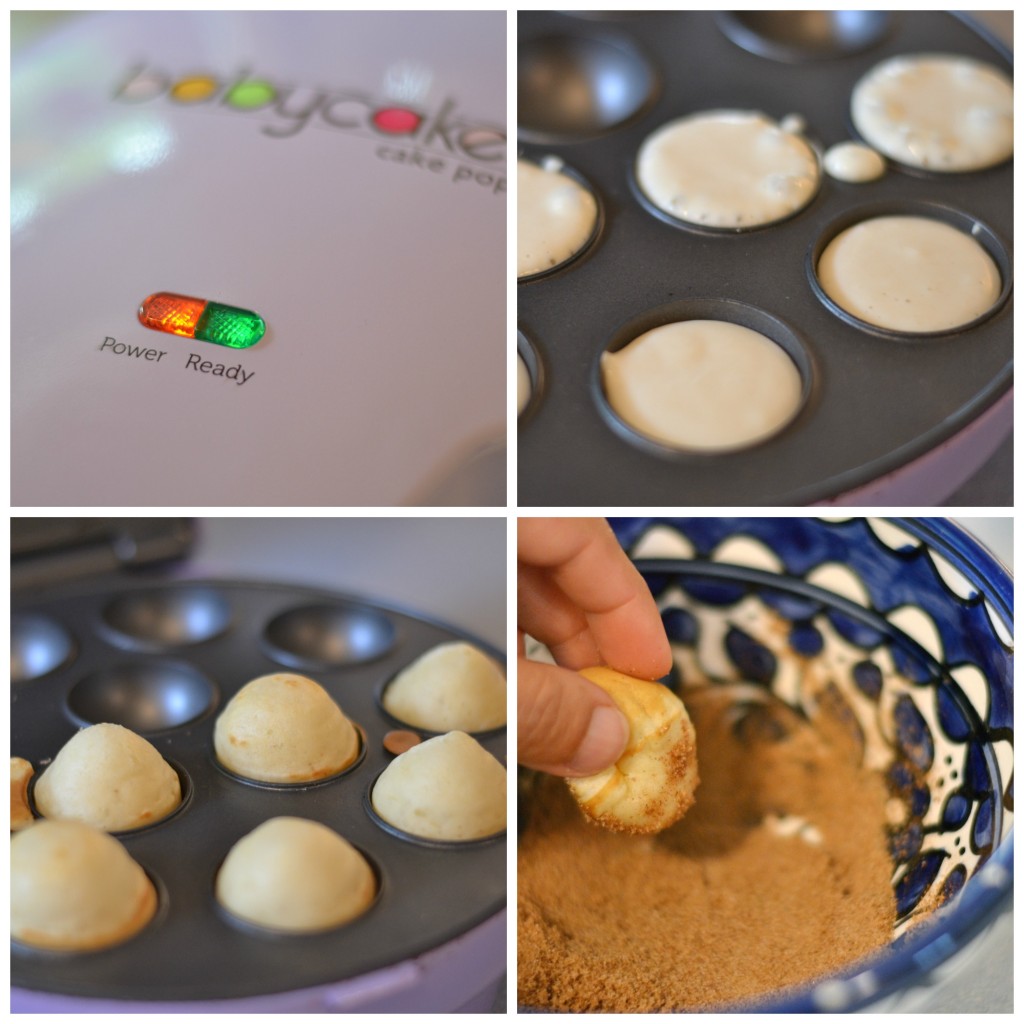
Not sure how many of you have a cake pop maker stashed in your cupboard, but you may want to find it.  If you are like me, you hid it because, let’s be honest, no one can actually make a cake pop!  They are actually a recipe for tears and a baking disaster.  A brave baby sitter tried once again last night with Big W and it ended in failure (once again.)

I found the cake pop maker on my counter this morning and I was determined to find a use for it!  I mixed up some pancake batter and made pancake bites. {A tablespoon of pancake batter and few minutes cooking time.}  The finished bites would be perfect to dip in syrup.  I decided to roll mine in cinnamon sugar.  The top of the bites were moist when they came out, so it was the cinnamon sugar stuck perfectly!  My little baker gobbled them up and the nightmare from last night was all but forgotten.

Where is June | Pancake Bites

DSC_0022

4 INGREDIENT PEANUT BUTTER COOKIES

Friday, August 2nd, 2013

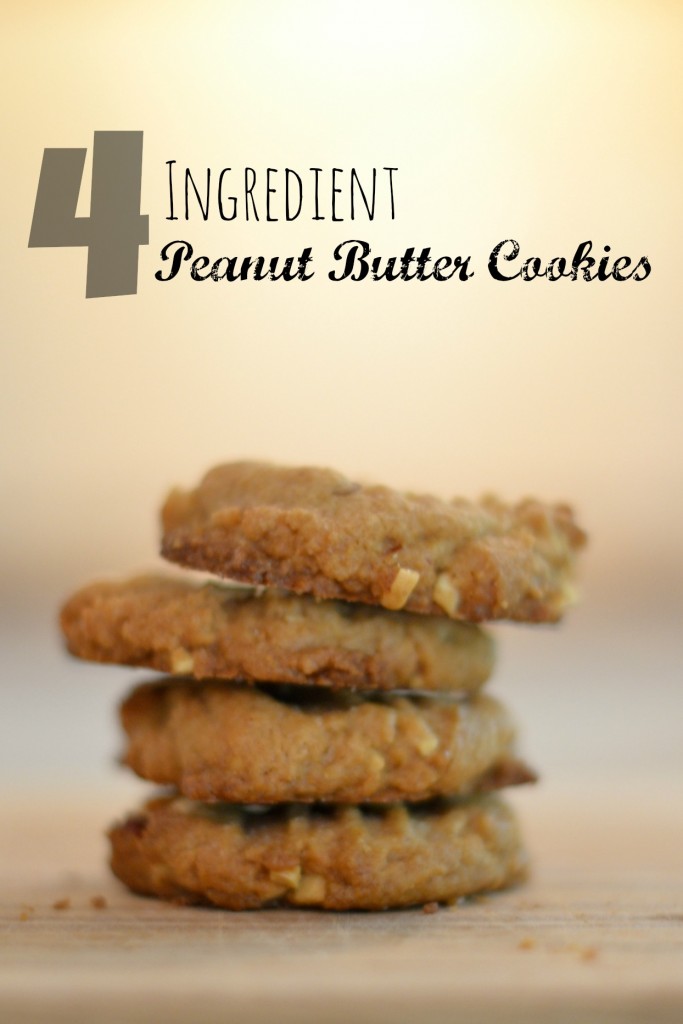
Where is June | 4 Ingredient Peanut Butter Cookies

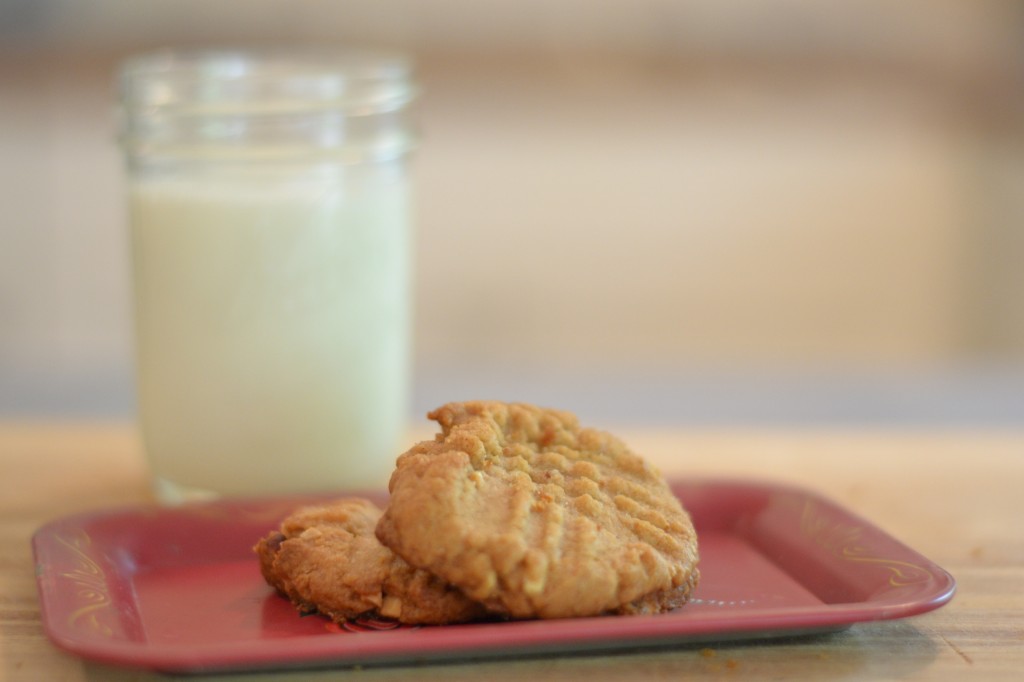
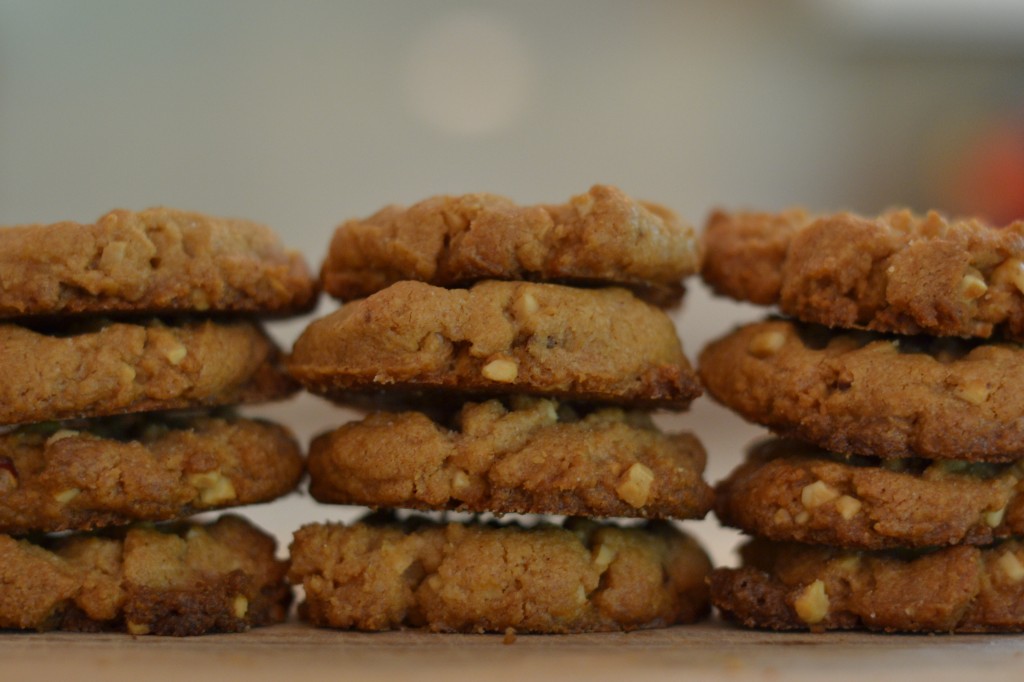
I may have found the easiest and best taking peanut butter cookie recipe ever!  Thanks to my mother-in-law I am obsessed with these treats.  With only 4 ingredients, that most of us have in our cupboards, you can have a batch of these for dessert tonight.  {They are irresistible.  Let me apologize right now!}

4 Ingredient Peanut Butter Cookies

  • 2 cups of smooth or chunky peanut butter {I used Adams Natural Chunky Peanut Butter}
  • 2 cups of sugar
  • 2 eggs (beaten)
  • 2 tsp. vanilla

1.  Mix peanut butter and sugar until blended.

2.  Add eggs and vanilla and blend well.

3.  Drop by tablespoon onto an ungreased cookie sheet.  Use fork to make hashmarks on top and flatten

4.  Bake at 355 degrees for 14-18 minutes.  Until edges are brown.

Where is June | 4 Ingredient Peanut Butter Cookies

Where is June | 4 Ingredient Peanut Butter Cookies

Make. Share. Enjoy.

{PS.  These are naturally gluten free!}


Where is June?


  • Glad You’re Here!

  • Simple Practices

  • Archives

  • Subscribe

    Enter your email address